Why a Move-In Inspection Matters
The gap between getting your keys and getting your deposit back can be months or years — but what happens on day one determines a lot about how that ending plays out. A move-in inspection is your clearest opportunity to document the apartment's existing condition before you become responsible for it.
Without written and photographic evidence, disputes at move-out often come down to your word against your landlord's. That's a position no renter wants to be in. Understanding security deposit rules and what counts as normal wear and tear starts with the inspection you do before you unpack.
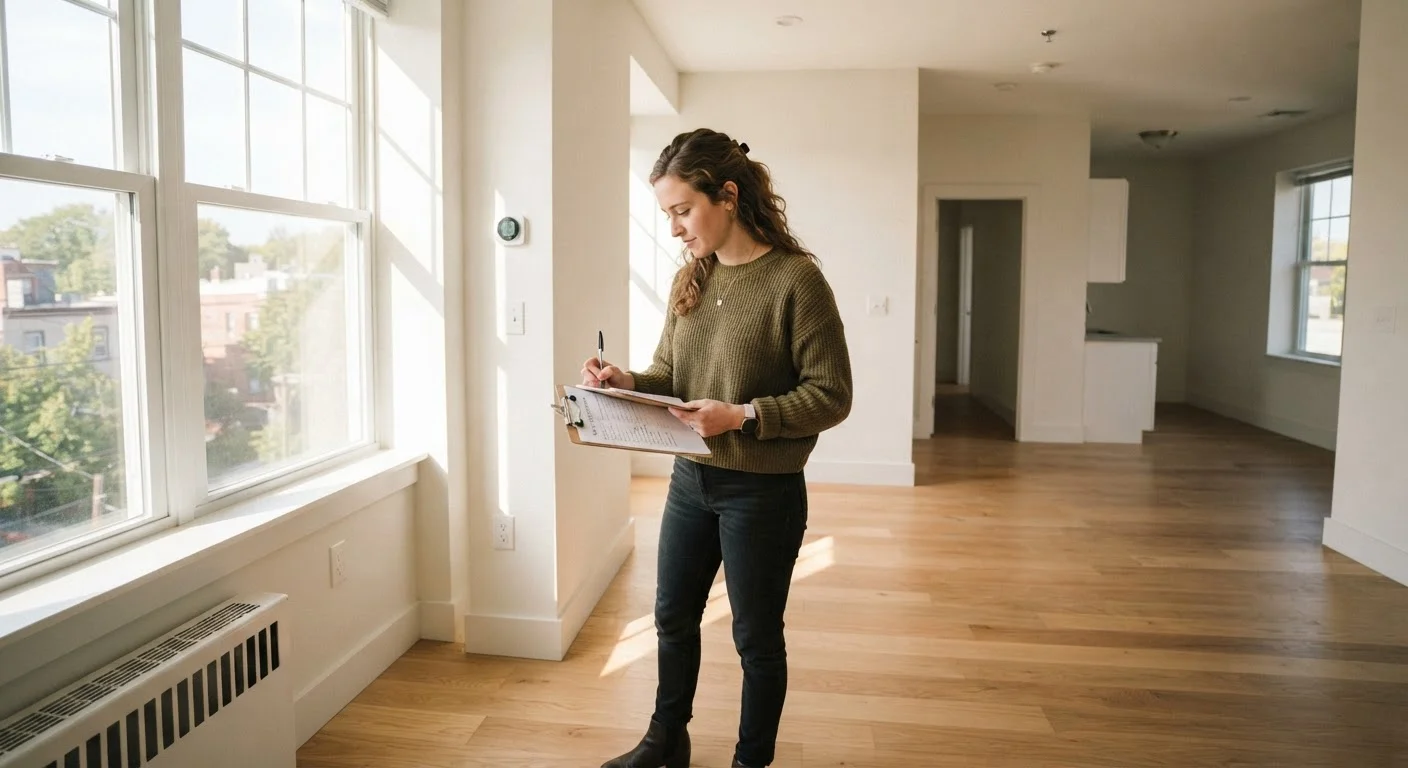
This checklist is organized room by room and system by system. Work through it methodically, take time-stamped photos of every issue you find, and submit a signed copy to your landlord in writing. Keep your own copy somewhere you can retrieve it easily — email it to yourself, save it in cloud storage, or both.
Send Your Report in Writing — Always
A verbal conversation with your landlord about existing damage carries almost no weight in a dispute. Always submit your inspection findings via email or another written method that creates a timestamp and a record. Ask for written confirmation that your landlord received it. Some states have legal requirements around move-in inspection forms and timelines — check your state's tenant protection laws or contact a local tenant rights organization to understand your specific obligations and rights.
What You'll Need Before You Start
Gather your tools before entering the unit so you can move efficiently through every room without backtracking.
Smartphone with camera
Take time-stamped photos and short videos of every room and any defects found.
Move-in inspection form
A written form — provided by your landlord or downloaded from your state's tenant rights website — to record each item's condition.
Flashlight or phone torch
Illuminate dark corners, under-sink cabinets, and closets where defects are easy to miss.
Small plug-in device or phone charger
Test every electrical outlet in the unit without relying solely on built-in fixtures.
Notepad or note-taking app
Record written descriptions of defects that correspond to your photos for a complete paper trail.
Tape measure
Measure rooms or doorways if you need to plan furniture placement on move-in day.
The Move-In Checklist
Work through every group below. Note defects with a brief written description and a corresponding photo. Even minor issues — a small scuff, a slow drain, a stiff window — are worth capturing. What seems trivial now can look like damage later.
Walls, Floors, and Ceilings
Windows, Locks, and Entry Points
Kitchen
Bathrooms
Electrical, Plumbing, and HVAC
Safety Devices and Building Systems
Exterior, Parking, and Storage
Final Documentation Steps
Once you've completed every group, compile your notes and photos into a single document or email thread. Send it to your landlord within 24 to 48 hours of receiving the keys. Request written acknowledgment that they received it. If your state or local jurisdiction uses a standardized move-in inspection form, use that form — your landlord may be legally required to provide one. Check your local tenant rights resources or your state attorney general's website to confirm the rules in your area.
Renting involves ongoing responsibilities beyond move-in day. If your living situation changes — for example, if you ever consider subletting your apartment — the same documentation habits you build now will help protect you then. And if you're ever weighing renting against buying, our guide on what new homeowners are rarely warned about puts the responsibilities of ownership in perspective.
This article is for general informational purposes only and does not constitute legal or financial advice. Tenant-landlord laws vary significantly by state and locality. Consult a licensed attorney or your local tenant rights organization for guidance specific to your situation.